Task
Once you have created the EntityFields, you can now define how to display the data held by the Entities. This is done by creating Views and by assigning ViewTemplates to them.
Find a generic description of Views and ViewTemplates in The Basics and in the ViewTemplates and Layouts reference.
Now, for both Entities (Car_entity and CarDriver_entity), create all four
standard Views and their ViewTemplates, and configure the EntityField
references in a reasonable way.
Solution
Views
Via the context menu of the Contexts, create a FilterView, PreviewView, EditView, and MainView.
The Views need only little configuration. Mainly, their layout property needs
to be set according to the selected ViewTemplate. For example, use a
HeaderFooterLayout for PreviewViews.
The only further configuration is to set the FilterView's filterable property
to true.
Do not forget to configure all Views in the respective properties of the Contexts.
ViewTemplates
Via the context menu of the Views, for example `Car > CarEdit_view > double click > Navigator: CarEdit_view > RMB > Add View Template... > Template Types
Generic`, create the suitable ViewTemplates. The Basics describes standard view combinations, while the ViewTemplates and Layouts reference helps select the appropriate templates and their properties. For example, PreviewViews use a CardViewTemplate as their header.
After creating a new ViewTemplate, assign the EntityFields to it in a
reasonable way. If you add a calculated field to the EditView, keep in mind
that these fields need a valueProcess.
Make sure that every View has the required ViewTemplate or ViewTemplates, and that every ViewTemplate has all required EntityFields.
The MainView does not get its own ViewTemplate. Instead, reference its existing
PreviewView in the master part of the MainView's MasterDetailLayout.
Deploy
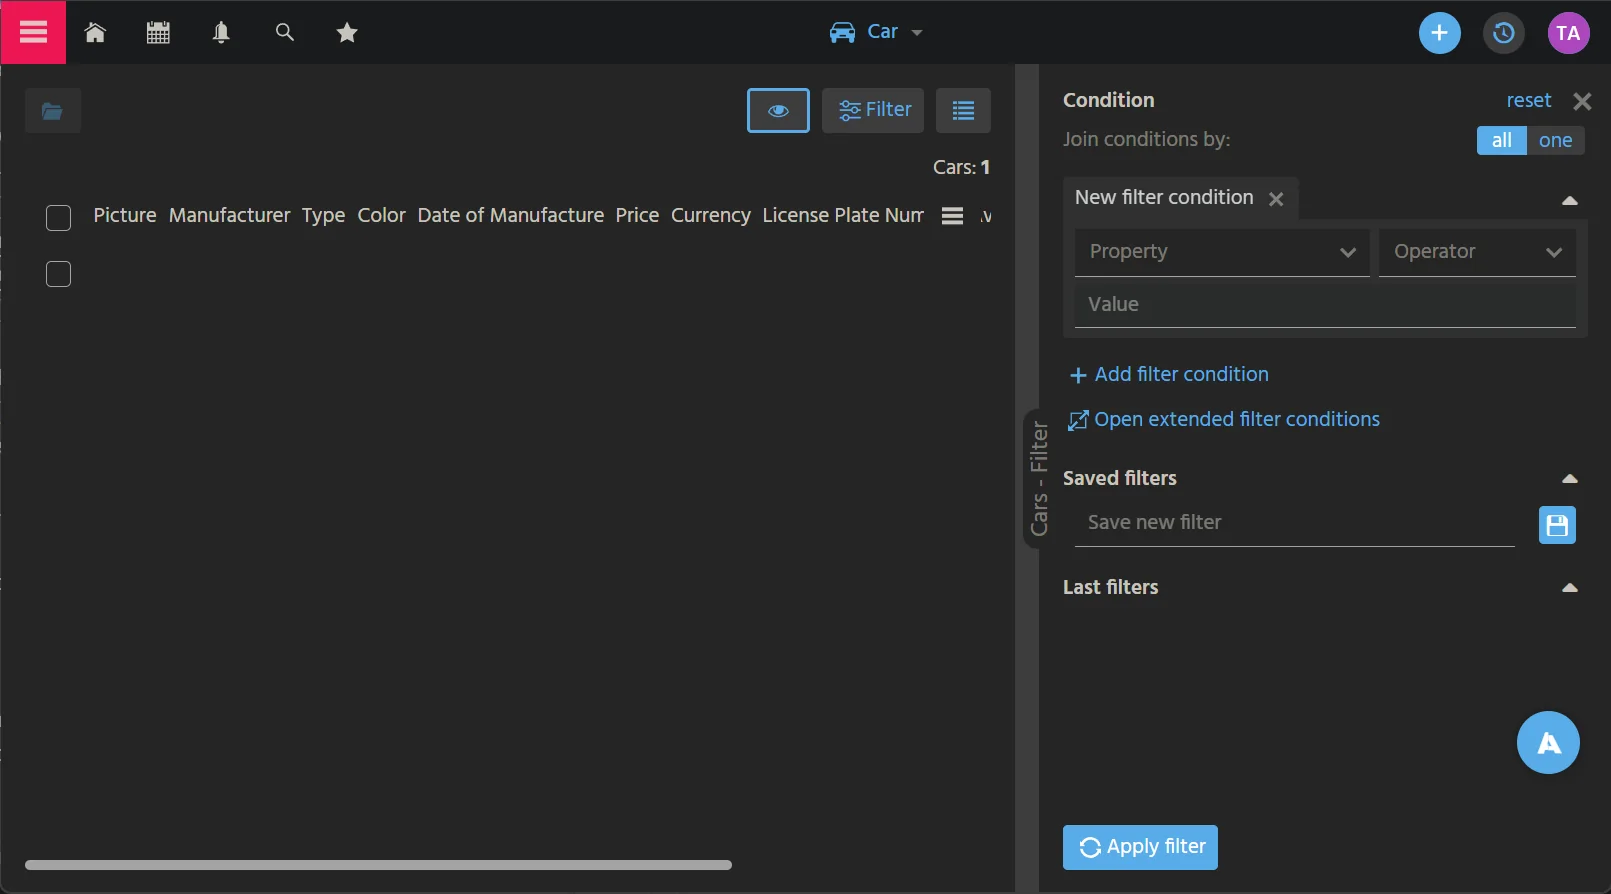
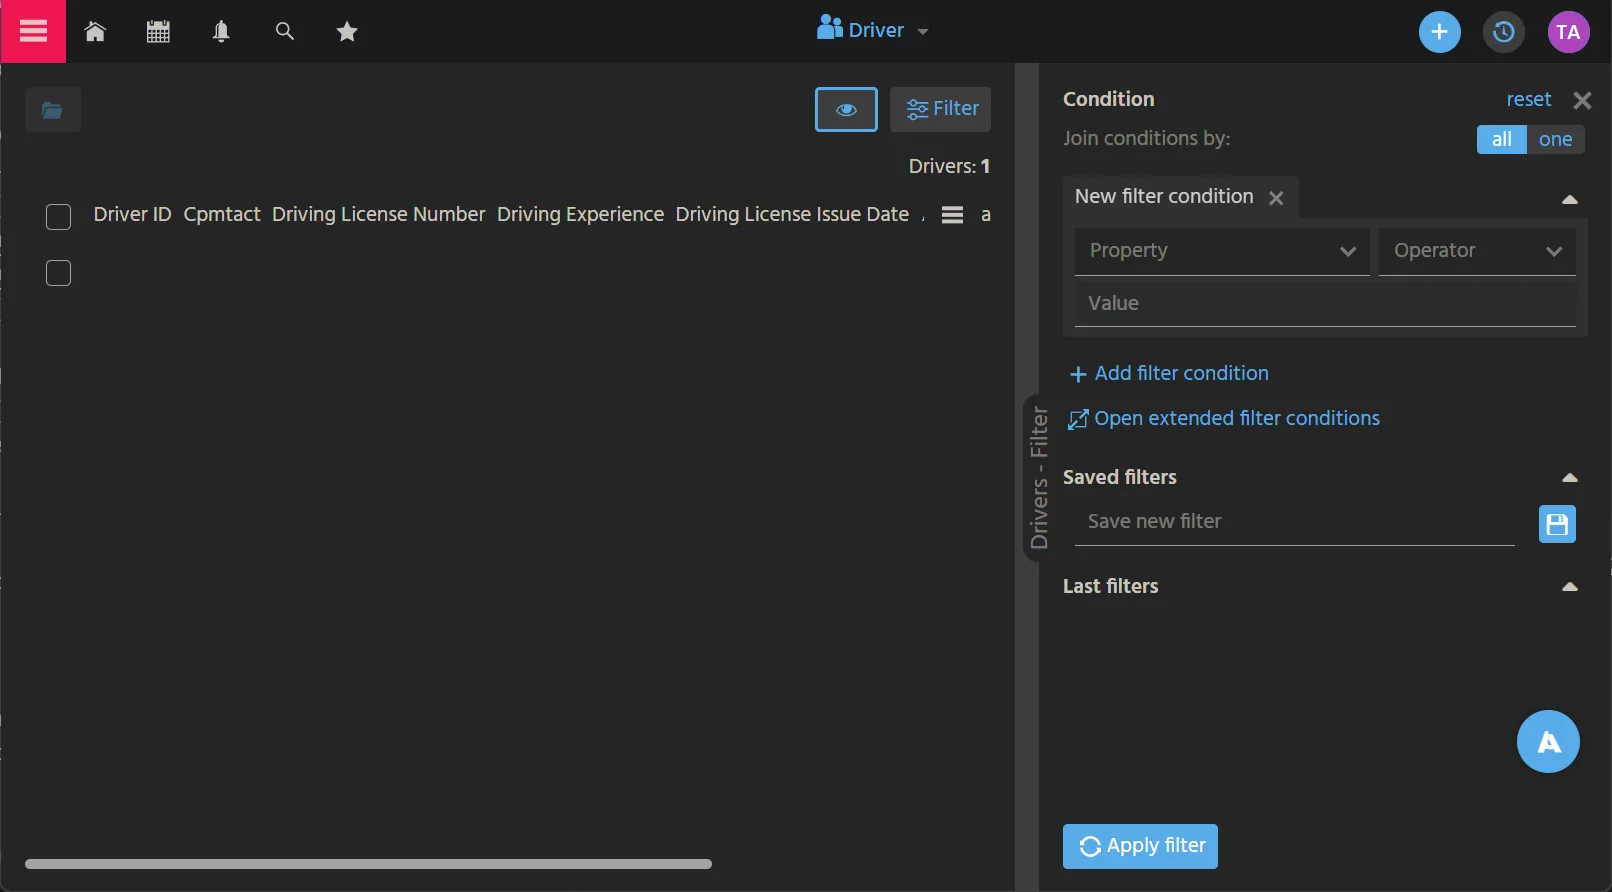
Deploy your changes and inspect the result in the web client. If you call the two Contexts via the Global Menu, you should see something like this: